Looking to achieve garage perfection? They say, ‘An ounce of prevention is worth a pound of cure.’ With our durable rubber coating for your garage floor, you can shield and style your space effortlessly. Say goodbye to unsightly cracks and stains, and hello to a sleek, polished look.
Our rubber coating not only protects your garage floor from daily wear and tear, but it also adds an extra layer of safety with its non-slip surface. In this guide, we’ll show you the benefits of rubber coating, how to prepare your garage floor, step-by-step application, tips for maintenance, and even design ideas to enhance the overall look of your garage.
Transform your space with Garage Perfection today!
The Benefits of Rubber Coating for Garage Floors
By using a rubber coating for your garage floor, you can enjoy a multitude of benefits that will enhance the durability and functionality of your space.
Rubber coating provides a protective layer that shields your garage floor from damage caused by heavy vehicles, tools, and equipment. This coating acts as a barrier against oil spills, chemicals, and stains, preventing them from seeping into the porous concrete surface. With a rubber coating, you can say goodbye to unsightly stains and marks on your garage floor.
Not only does rubber coating protect your garage floor, but it also improves its functionality. The rubber surface offers excellent traction, reducing the risk of slips and falls, especially in wet and slippery conditions. This is particularly important when you’re working in your garage and need to move around safely. The cushioning effect of rubber also provides comfort underfoot, making it easier on your joints and reducing fatigue during long periods of standing or working in your garage.
Another benefit of rubber coating is its sound-dampening properties. The rubber layer absorbs and reduces noise, making your garage a quieter space. Whether you’re using power tools, working on your car, or simply walking around, the rubber coating helps minimize the noise levels, creating a more pleasant environment.
Furthermore, rubber coating is easy to clean and maintain. Unlike bare concrete, which can be a magnet for dust and dirt, rubber coating can be easily swept or hosed down. It’s also resistant to mold and mildew, ensuring a hygienic space.
How to Prepare Your Garage Floor for Rubber Coating
To prepare your garage floor for rubber coating, you’ll need to take a few simple steps to ensure a smooth and successful application.
First, start by thoroughly cleaning the floor. Remove any oil stains, dirt, or debris using a pressure washer or a strong degreaser and a scrub brush. Make sure to rinse the floor thoroughly and allow it to dry completely before moving on to the next step.
Next, inspect the floor for any cracks or damage. Use a concrete patching compound to fill in any cracks or holes, following the manufacturer’s instructions. Smooth out the patched areas with a trowel and allow them to dry completely. It’s important to have a smooth and level surface before applying the rubber coating.
Once the floor is clean and repaired, it’s time to etch the surface. Etching will help the rubber coating adhere better to the concrete. You can use an acid etching solution or a mechanical grinder with a diamond grinding wheel. Follow the instructions provided by the manufacturer and be sure to wear protective gear, such as gloves and goggles, when working with the etching solution.
After etching, thoroughly rinse the floor with water and allow it to dry completely. It’s important to remove any residue from the etching process before applying the rubber coating.
Finally, before applying the rubber coating, it’s recommended to prime the floor with a concrete primer. This will help the rubber coating adhere better and provide a longer-lasting finish. Follow the manufacturer’s instructions for the primer application and allow it to dry completely before applying the rubber coating.
Step-by-Step Guide for Applying Rubber Coating to Your Garage Floor
To apply the rubber coating to your garage floor, gather all the necessary materials and ensure that the surface has been properly prepared.
First, you’ll need to gather the following materials: rubber coating kit, safety goggles, gloves, paint roller, paint tray, paintbrush, and a mixing stick. Make sure to read the instructions on the rubber coating kit thoroughly before you begin.
Before applying the rubber coating, it’s important to prepare the surface of your garage floor. Start by cleaning the floor thoroughly, removing any dirt, dust, or grease. You can use a broom or a vacuum cleaner to remove loose debris, followed by a mop and a mild detergent to clean the floor. Rinse the floor with clean water and allow it to dry completely.
Next, inspect the floor for any cracks or imperfections. Use a concrete patching compound to fill in any cracks or holes, and allow it to dry according to the manufacturer’s instructions. Once the patching compound is dry, use a floor sander or grinder to smooth out any rough areas or high spots on the floor.
Now, it’s time to apply the rubber coating. Start by pouring the rubber coating mixture into a paint tray. Use a paint roller to apply a thin, even coat of the rubber coating to the floor. Work in small sections, starting from the back of the garage and moving towards the exit.
Once the first coat is dry, usually after 24 hours, apply a second coat of the rubber coating following the same process. Allow the second coat to dry completely before walking or driving on the surface.
Tips for Maintaining and Cleaning Your Rubber Coated Garage Floor
To ensure the longevity and pristine appearance of your rubber coated garage floor, it’s important to regularly maintain and clean it. Follow these tips to keep your garage floor in top condition:
- Sweep or vacuum regularly: Remove loose dirt and debris from the surface of your rubber coated garage floor by sweeping or vacuuming it regularly. This will prevent dirt from accumulating and scratching the coating.
- Mop with a mild detergent: For a deeper clean, mop the floor using a mild detergent and warm water. Avoid using harsh chemicals or abrasive cleaners that can damage the rubber coating. Rinse thoroughly to remove any residue.
- Wipe up spills immediately: Accidents happen, but it’s important to wipe up spills as soon as they occur. This will prevent stains and potential damage to the rubber coating. Use a clean cloth or mop to absorb the spill and then clean the area with a mild detergent.
- Avoid dragging heavy objects: Rubber coatings are durable, but dragging heavy objects across the floor can cause scratches or tears. Use a dolly or ask for assistance when moving heavy items to prevent damage.
- Apply a protective coating: Periodically applying a protective coating can help maintain the appearance and durability of your rubber coated garage floor. Follow the manufacturer’s instructions for the specific coating you choose.
Enhancing the Look of Your Garage With Rubber Coating: Design Ideas and Inspiration
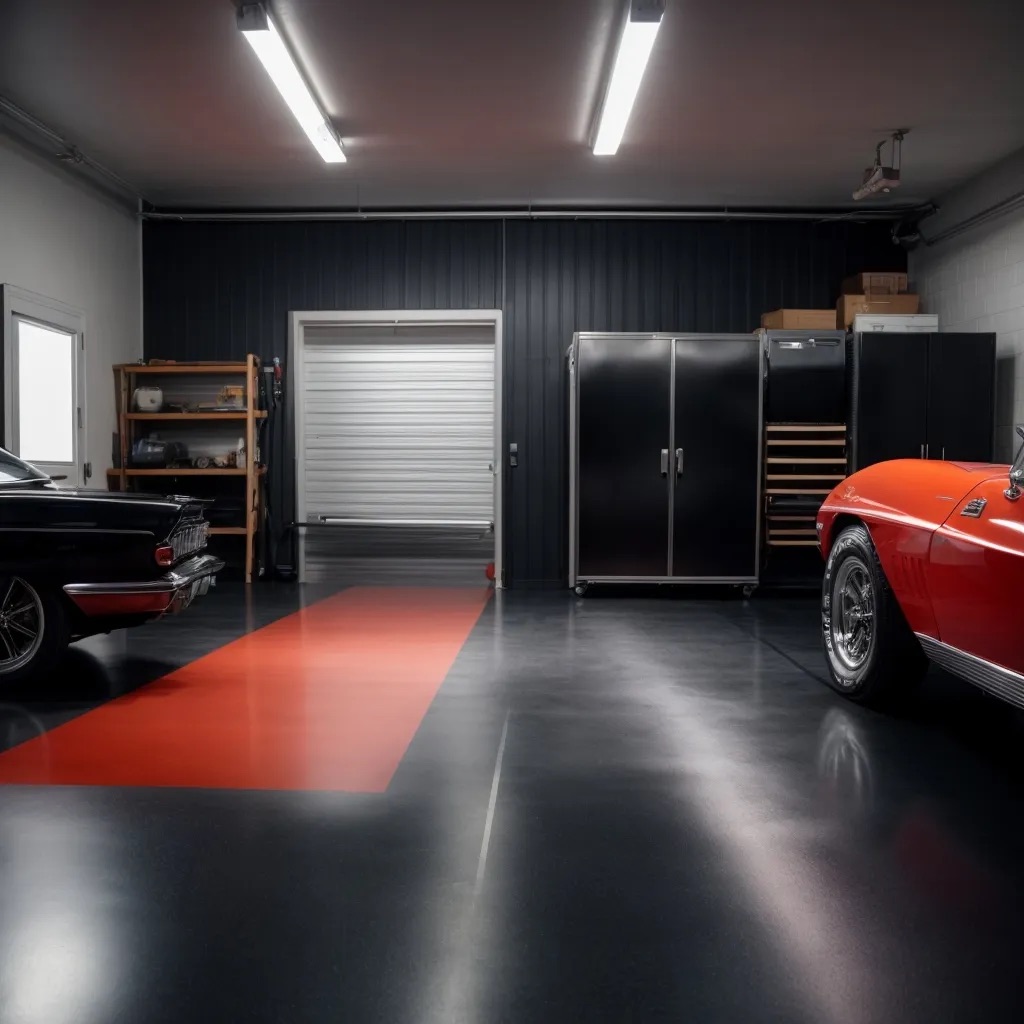
Transform your garage into a stylish haven with the versatile design possibilities offered by rubber coating. Not only does rubber coating provide a durable and protective surface for your garage floor, but it also allows you to enhance the overall look of your space. With a wide range of colors, patterns, and textures available, you can create a garage that reflects your personal style and complements the rest of your home.
One popular design idea is to create a checkerboard pattern using two contrasting colors of rubber coating. This classic design adds visual interest and can make your garage feel more like an extension of your living space. Another option is to use a single color of rubber coating for a sleek and modern look. This creates a cohesive and clean appearance that’s both stylish and easy to maintain.
If you want to add a touch of luxury to your garage, consider using rubber coating with a metallic finish. This creates a shimmering effect that can give your space a high-end feel. Additionally, you can incorporate custom patterns or logos into your rubber coating for a truly unique design. Whether it’s your favorite sports team logo or a personalized monogram, this customization option allows you to make your garage truly one-of-a-kind.
In terms of texture, rubber coating can be applied with a smooth or textured finish. If you want to create a more industrial or rugged look, a textured finish can provide the perfect solution. On the other hand, a smooth finish offers a sleek and polished appearance.
Key Takeaways
- Rubber coating for garage floors provides a protective layer against damage from heavy vehicles, tools, and equipment, as well as oil spills, chemicals, and stains.
- It offers excellent traction, reducing the risk of slips and falls, and provides comfort underfoot, reducing fatigue during long periods of standing or working.
- Rubber coating absorbs and reduces noise, creating a quieter environment, and protects the underlying concrete from damage and wear.
- It is easy to clean and maintain, requiring minimal effort, and provides a durable and long-lasting flooring solution.